
As electric vehicles become more common, many homeowners are looking into electric vehicle charger installation to enjoy the convenience of charging at home. Instead of relying on public charging stations, a home setup allows you to plug in overnight and wake up fully charged every morning.
This complete EV charger installation guide walks you through everything you need to know—from choosing the right charger to understanding wiring requirements and completing a safe installation. Whether you’re a beginner or planning your first setup, this guide simplifies the entire process.
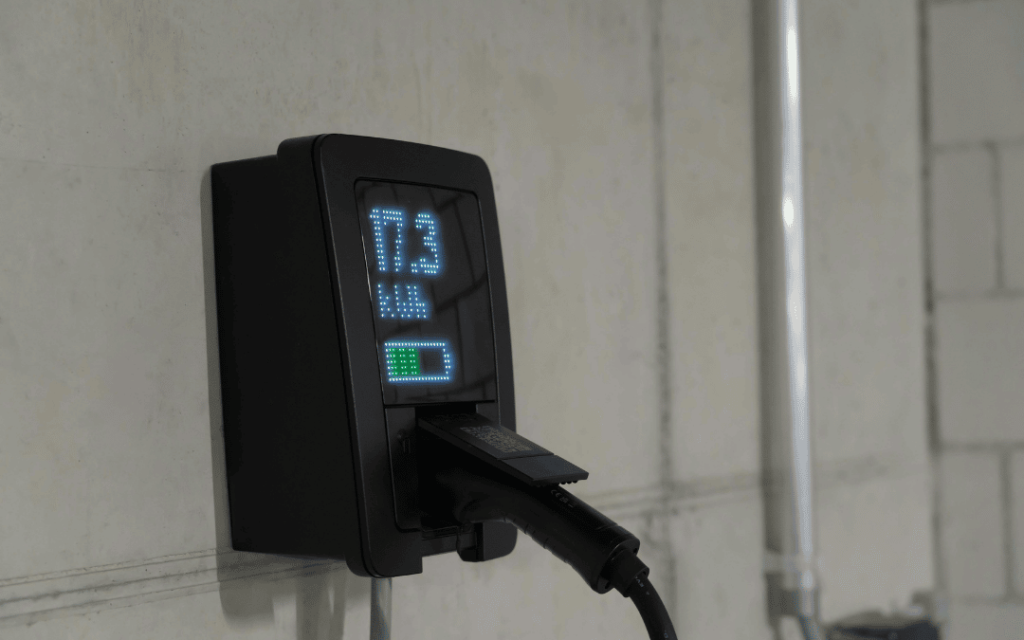
Why Home EV Charger Installation Matters
Installing a home charging station offers convenience, cost savings, and efficiency. With a proper home EV charger installation, you eliminate frequent trips to public charging stations and reduce downtime.
Benefits include:
- Faster charging compared to standard outlets
- Lower charging costs over time
- Increased property value
- Convenience of overnight charging
- Better control over energy usage
A well-planned EV charging station installation ensures your system is safe, efficient, and compatible with your vehicle.
Step 1: Understand Your EV Charging Needs
Before learning how to install an EV charger, you must determine your charging needs. Not all EV chargers are the same, and selecting the right one is crucial.
There are three main levels of EV charging:
Level 1 Charging
- Uses standard 120V outlet
- Slowest charging option
- Suitable for plug-in hybrids or light use
Level 2 Charging
- Requires 240V outlet
- Most common for home EV charger installation
- Charges much faster (typically 4–8 hours full charge)
DC Fast Charging
- Extremely fast but requires commercial setup
- Not typically used for residential installation
For most homeowners, Level 2 is the ideal choice for electric vehicle charger installation.
Step 2: Check Electrical System Compatibility
Before starting the installation process, inspect your home’s electrical system. This step is critical for safety and performance.
You should evaluate:
- Electrical panel capacity (usually 100A–200A)
- Available breaker space
- Wiring condition
- Distance from panel to charger location
If your panel is outdated or overloaded, an upgrade may be required before proceeding with EV charger installation.
Step 3: Choose the Right EV Charger
Selecting the right charger is a major part of the EV charger installation guide. Consider the following:
- Charging speed (kW output)
- Compatibility with your vehicle
- Indoor vs outdoor rating (weatherproofing)
- Smart features (Wi-Fi, app control, scheduling)
- Cable length and mounting style
Smart chargers are increasingly popular because they allow users to monitor energy usage and schedule charging during off-peak hours.
Step 4: Gather Tools and Materials
If you’re learning how to install EV charger systems, having the right tools is essential. A professional electrician typically uses:
- Voltage tester
- Drill and drill bits
- Screwdrivers
- Wire stripper
- Conduit and fittings
- Electrical cable (appropriate gauge)
- Circuit breaker
- Mounting bracket
- Safety gloves and goggles
Proper tools ensure a safe and efficient home EV charger installation process.
Step 5: Turn Off Power and Prepare Installation Area
Safety comes first. Before starting any electrical work:
- Turn off power at the main breaker
- Verify no electricity is flowing using a voltage tester
- Clear the installation area
- Mark the mounting location for the charger
Most homeowners choose to install the charger in a garage or driveway area close to the electrical panel to reduce wiring distance.
Step 6: Install Dedicated Circuit
A key part of electric vehicle charger installation is setting up a dedicated circuit.
Steps include:
- Running electrical wiring from the breaker panel
- Installing a dedicated circuit breaker (usually 40–60 amps for Level 2 chargers)
- Using properly rated conduit and cables
- Ensuring grounding is properly connected
This step ensures the charger has enough power without overloading your home system.
Step 7: Mount the EV Charger
Once the electrical circuit is ready, it’s time to mount the charger.
Follow these steps:
- Secure the mounting bracket to a wall or post
- Ensure it is at a comfortable height for use
- Attach the charger unit to the bracket
- Route the charging cable safely
Proper mounting is essential for durability and ease of use in any EV charging station installation.
Step 8: Connect Wiring to Charger
Now connect the electrical wiring to the EV charger according to manufacturer instructions.
This typically involves:
- Connecting live, neutral, and ground wires
- Ensuring all connections are tight and secure
- Using proper insulation to prevent exposure
- Double-checking polarity and wiring layout
Incorrect wiring can lead to serious safety risks, so this step is critical in the EV charger installation guide.
Step 9: Power On and Test the System
After installation is complete:
- Restore power at the breaker panel
- Test the charger with your EV or test mode
- Check for proper charging response
- Verify indicator lights and app connectivity (if applicable)
If everything functions correctly, your home EV charger installation is complete.
Step 10: Safety Checks and Final Inspection
Final safety checks ensure everything is working correctly:
- Confirm no overheating occurs
- Inspect all wiring connections
- Ensure breaker does not trip under load
- Verify proper grounding
Many homeowners choose to have a licensed electrician inspect the installation even if they perform parts of the process themselves.
Common Mistakes to Avoid
When learning how to install an EV charger, avoid these common mistakes:
- Using undersized wiring
- Installing without a dedicated circuit
- Poor grounding connections
- Ignoring electrical panel capacity
- Placing charger too far from panel
These mistakes can reduce efficiency or create safety hazards.
Maintenance Tips for EV Chargers
Once your electric vehicle charger installation is complete, maintenance is simple:
- Keep charging cables clean and dry
- Inspect for wear or damage regularly
- Avoid overloading circuits
- Update smart charger firmware if available
- Schedule occasional electrical inspections
Proper maintenance ensures long-term performance and safety.
Final Thoughts
A properly executed EV charging station installation provides convenience, efficiency, and long-term savings. By following this step-by-step EV charger installation guide, homeowners can better understand the process and prepare for a safe, reliable setup.
Whether you plan to DIY parts of the project or hire a professional electrician, understanding how to install EV charger systems gives you confidence and control over your home charging experience.
With the rise of electric vehicles, investing in a well-planned home EV charger installation is one of the smartest upgrades you can make for your property today.